如何自制一台
高性能迷你桌面曲线锯
DIY a High-Performance Mini Desktop Scroll Saw
产品特点概述 Product Features Overview
结构紧凑,便携易用
Compact Structure, Portable & Easy to Use
无级调速功能
Infinitely Adjustable Speed
PWM调速模块: 电流 10A, 电压 12-40V
适用于精确切割薄板材料
Suitable for Precision Cutting of Thin Sheet Materials
锯片规格: 18T, 长度 133mm, 宽度 3mm
直流电机驱动
DC Motor Driven
电机型号: 775电机, 电压 12-24V, 转速 2500-20000rpm
多种供电方式
Multiple Power Supply Options
兼容电池包或直流电源适配器 (演示使用 18V 5A 电源)
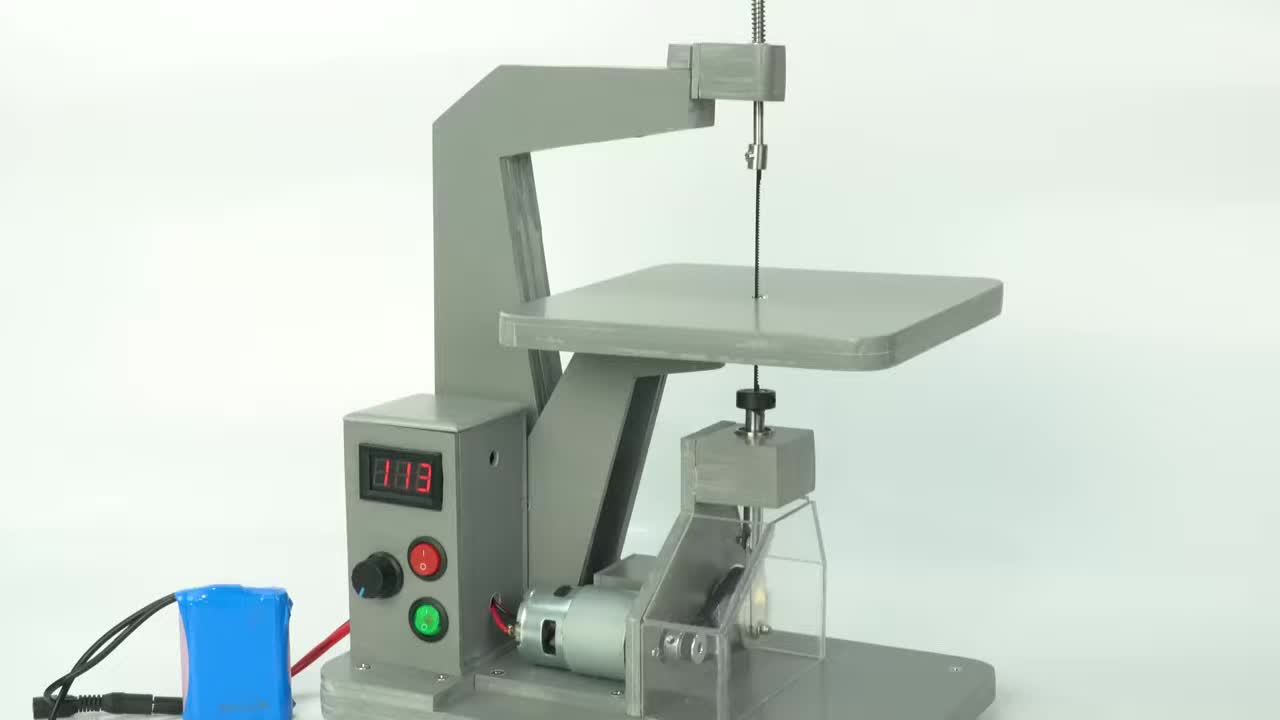
紧凑的机身尺寸
Compact Dimensions
高约 32cm, 工作台面尺寸约 18cm x 24cm
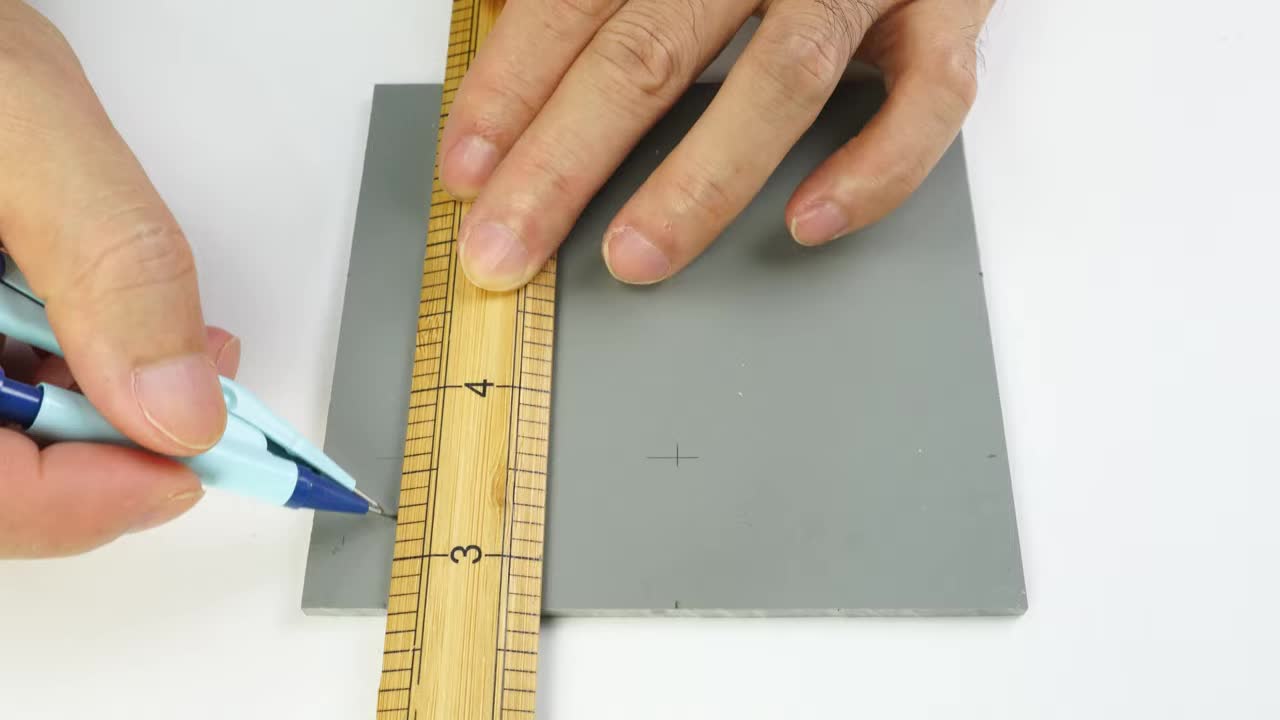
步骤 1:准备机身驱动结构底座板材 Step 1: Prepare Base Plates for Drive Mechanism
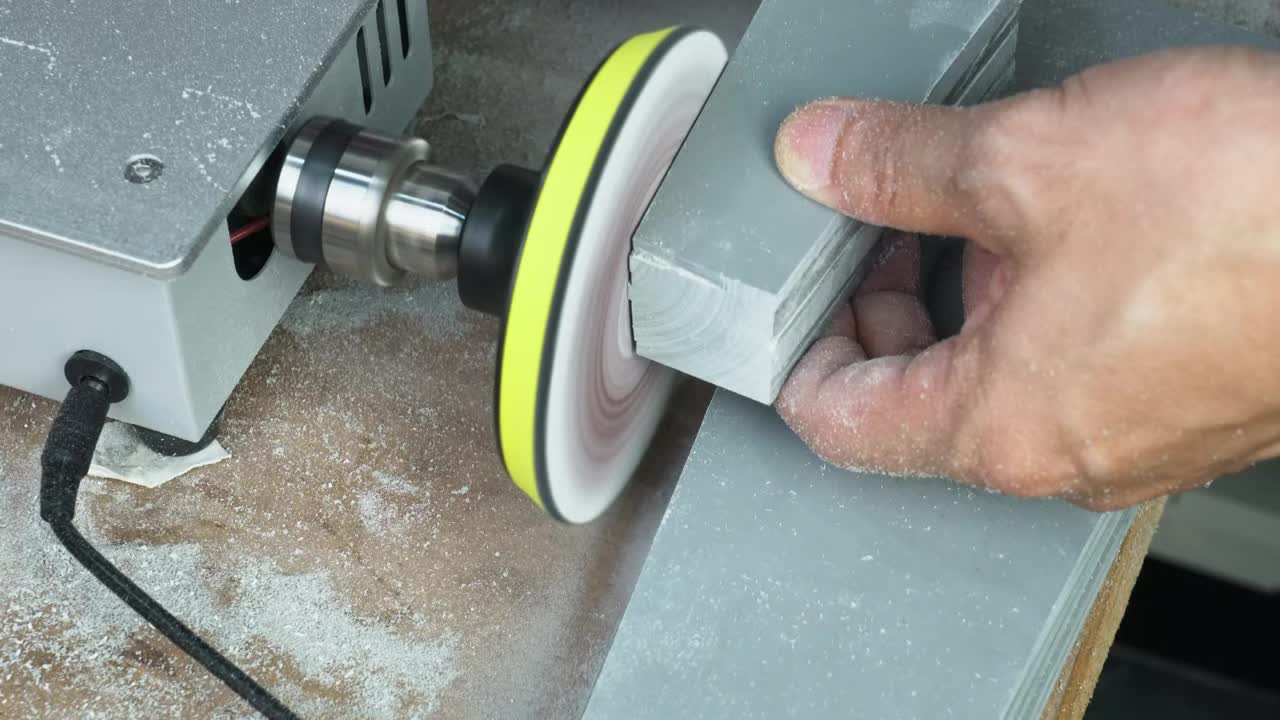
在塑料板上绘制切割线。切割所需尺寸的板材。 Mark cutting lines on plastic sheets. Cut pieces to required size.
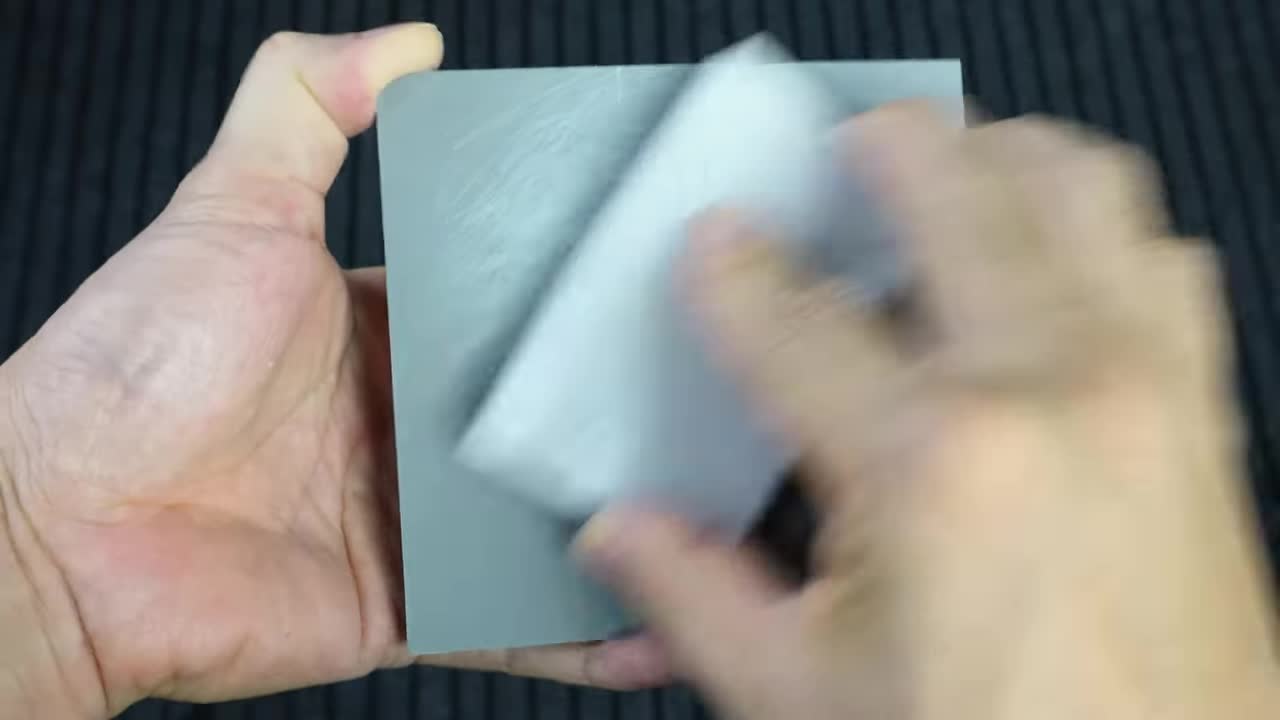
粘合多层板材增加厚度,并打磨表面。 Bond multiple layers for thickness and sand the surface.
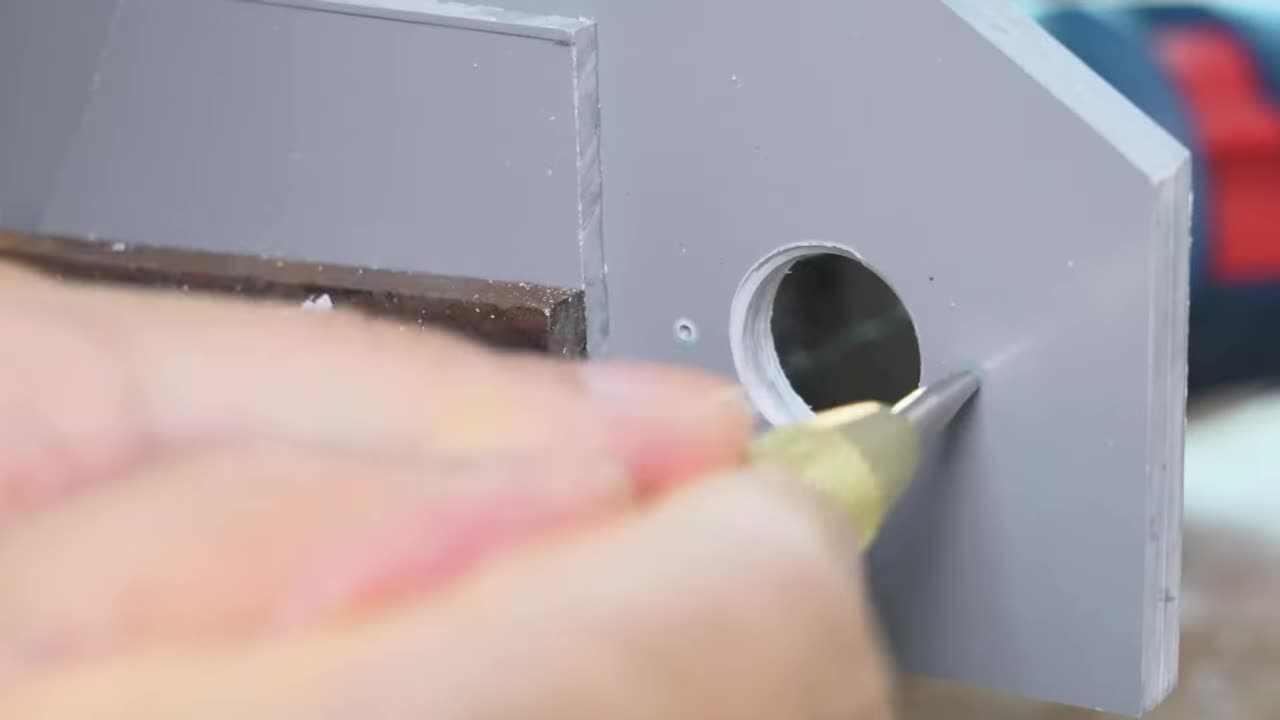
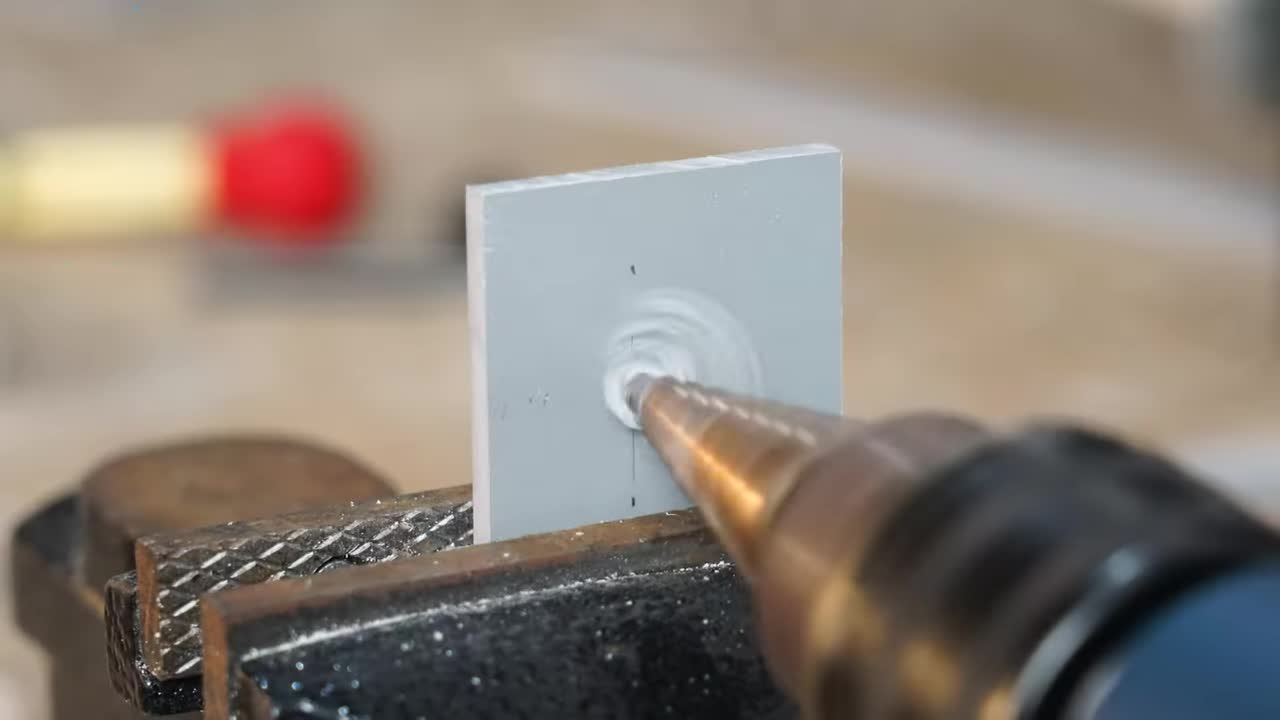
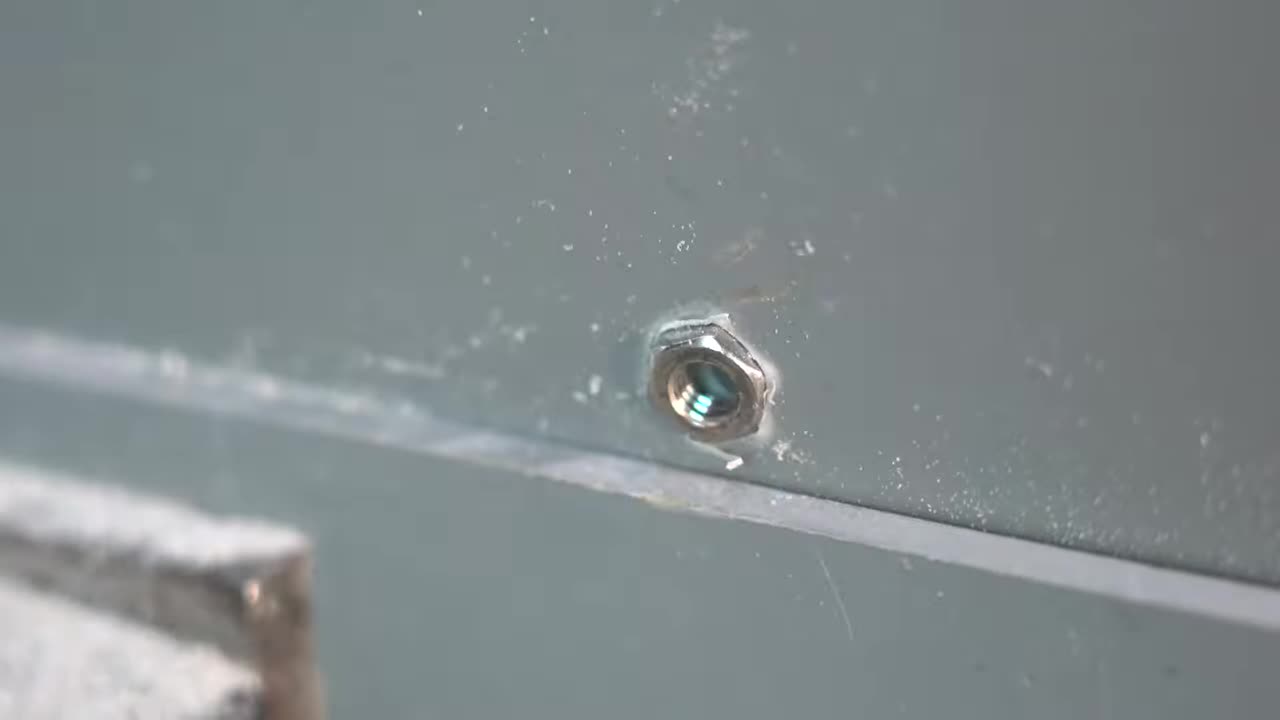
步骤 2:制作电机安装件并安装轴承 Step 2: Fabricate Motor Mount and Install Bearing
在粘合的板材上标记并开孔,用于安装电机和轴承。安装一个 轴承 (内径 5mm, 外径 10mm)。 Mark and drill holes on the bonded piece for motor and bearing installation. Install an axle bearing (Inner diameter: 5mm, Outer diameter: 10mm).
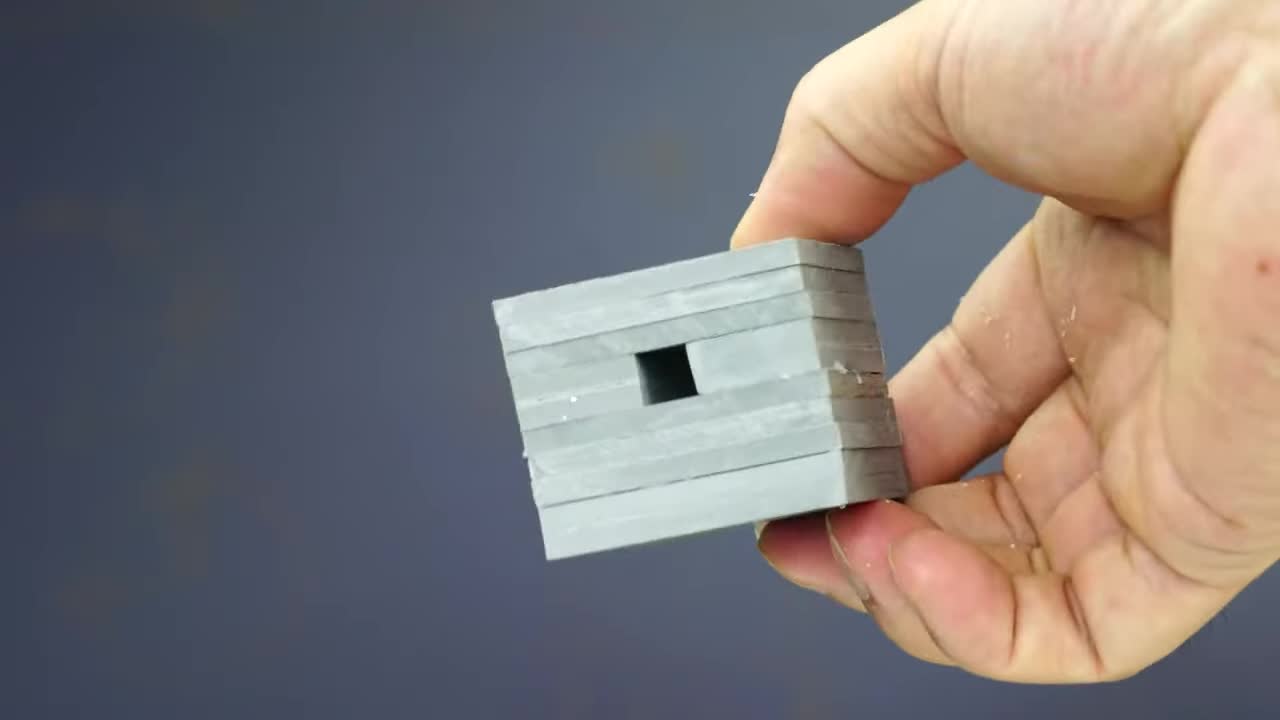
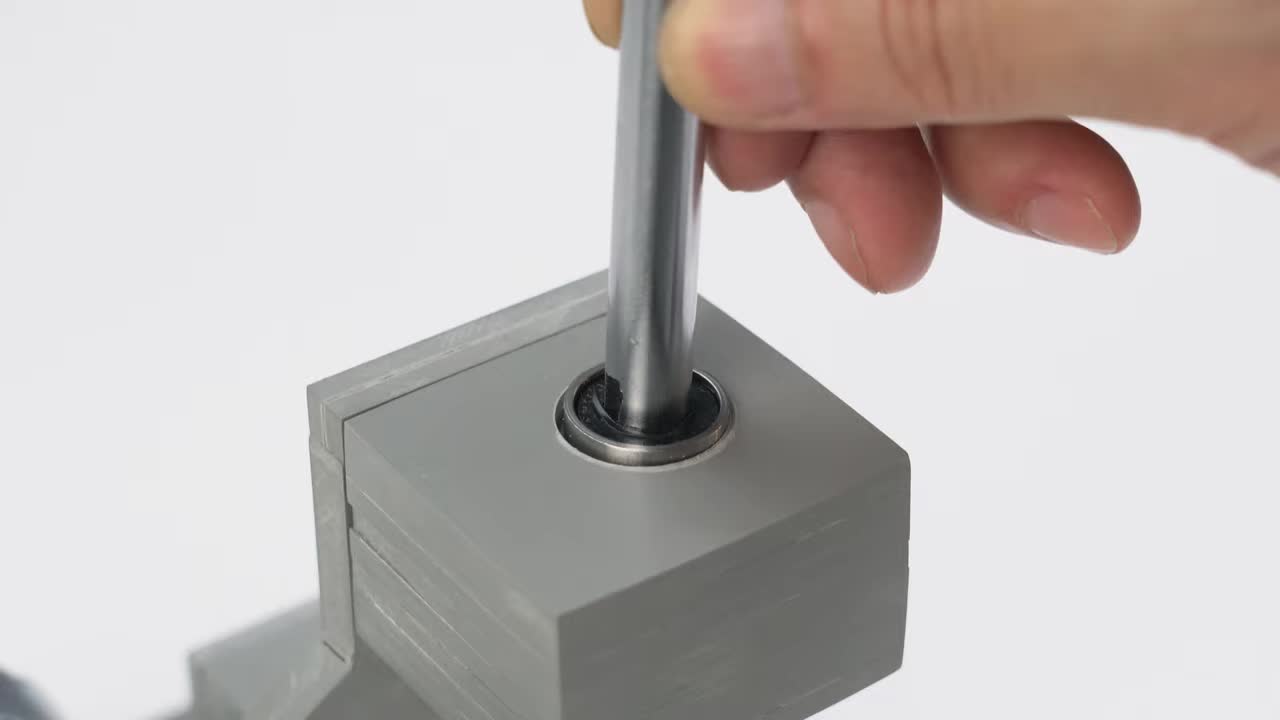
步骤 3:制作并安装大同步带轮轴承座 Step 3: Fabricate and Install Large Pulley Bearing Block
粘合多层板材制作方形轴承座,开孔并安装一个 直线轴承 (内径 10mm, 外径 19mm)。 Bond multiple layers to make a square bearing block, drill a hole and install a linear bearing (Inner diameter: 10mm, Outer diameter: 19mm).
步骤 4:制作连杆 Step 4: Fabricate Connecting Rod
切割铝合金方管并打磨。 Cut and sand aluminum square tube.
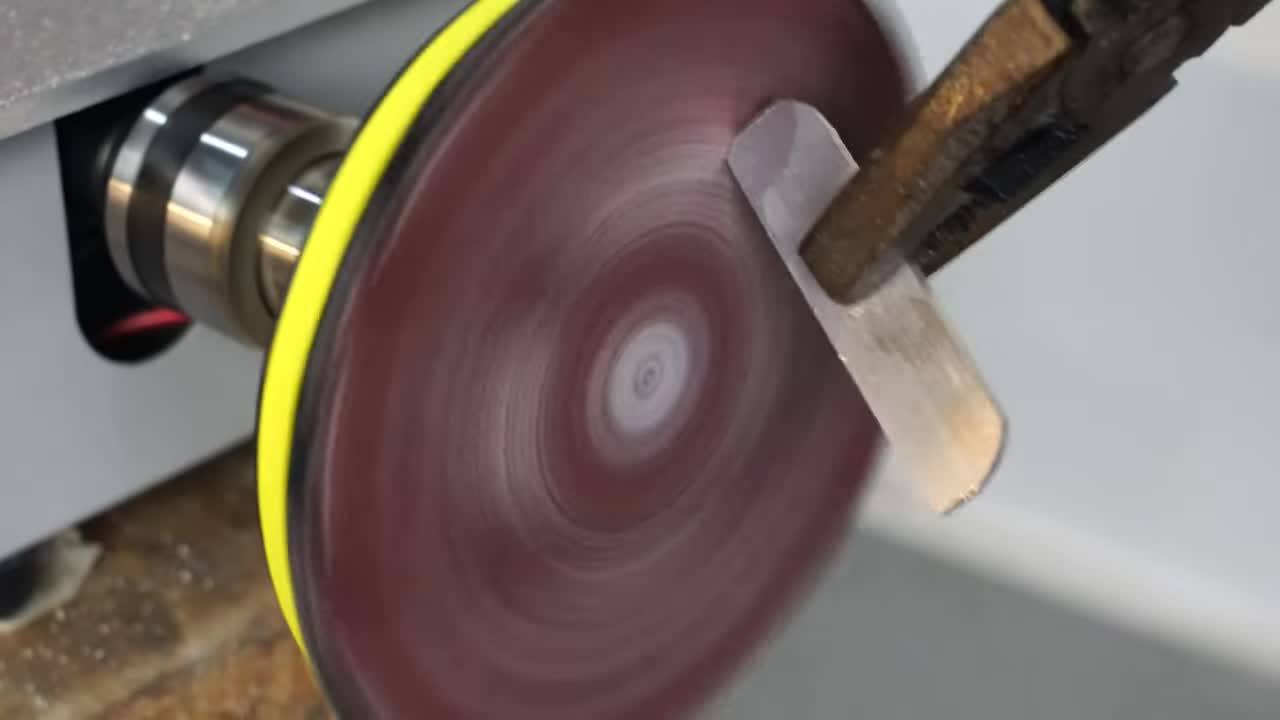
在连杆两端打孔,一端安装衬套。 Drill holes at both ends of the connecting rod, install a bushing at one end.
衬套内径: 5mm, 外径: 10mm
Bushing Inner diameter: 5mm, Outer diameter: 10mm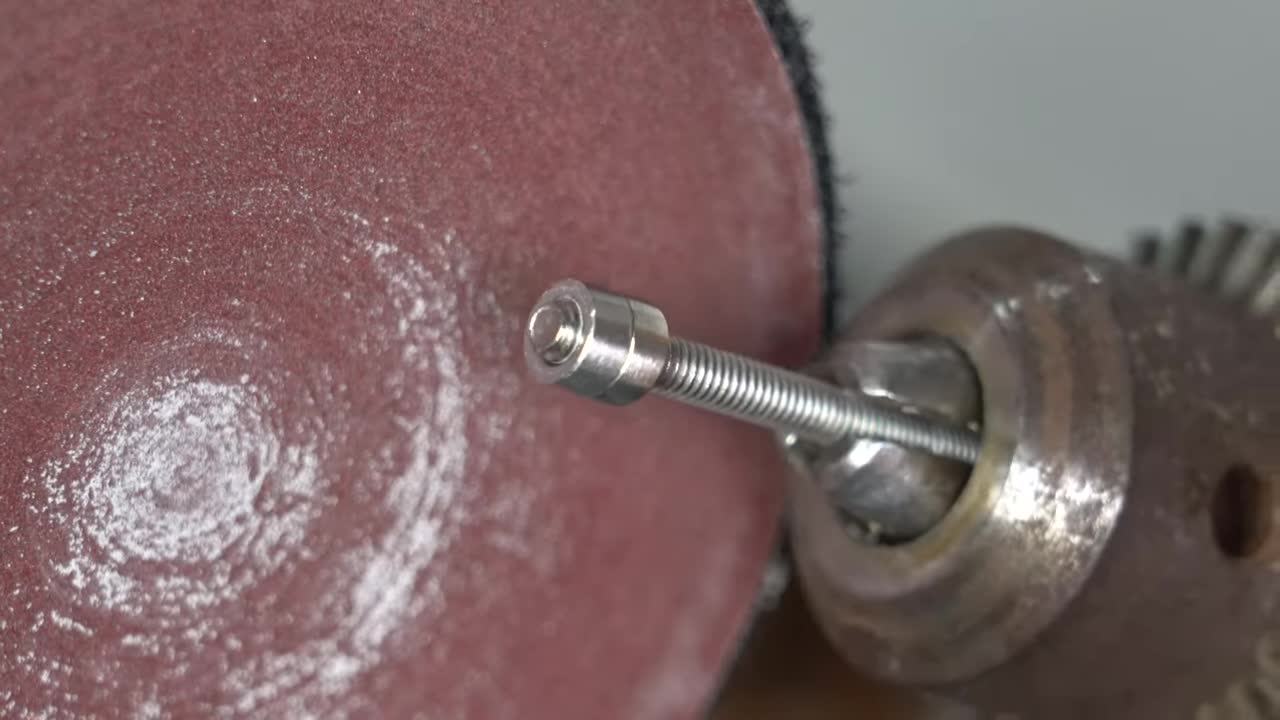
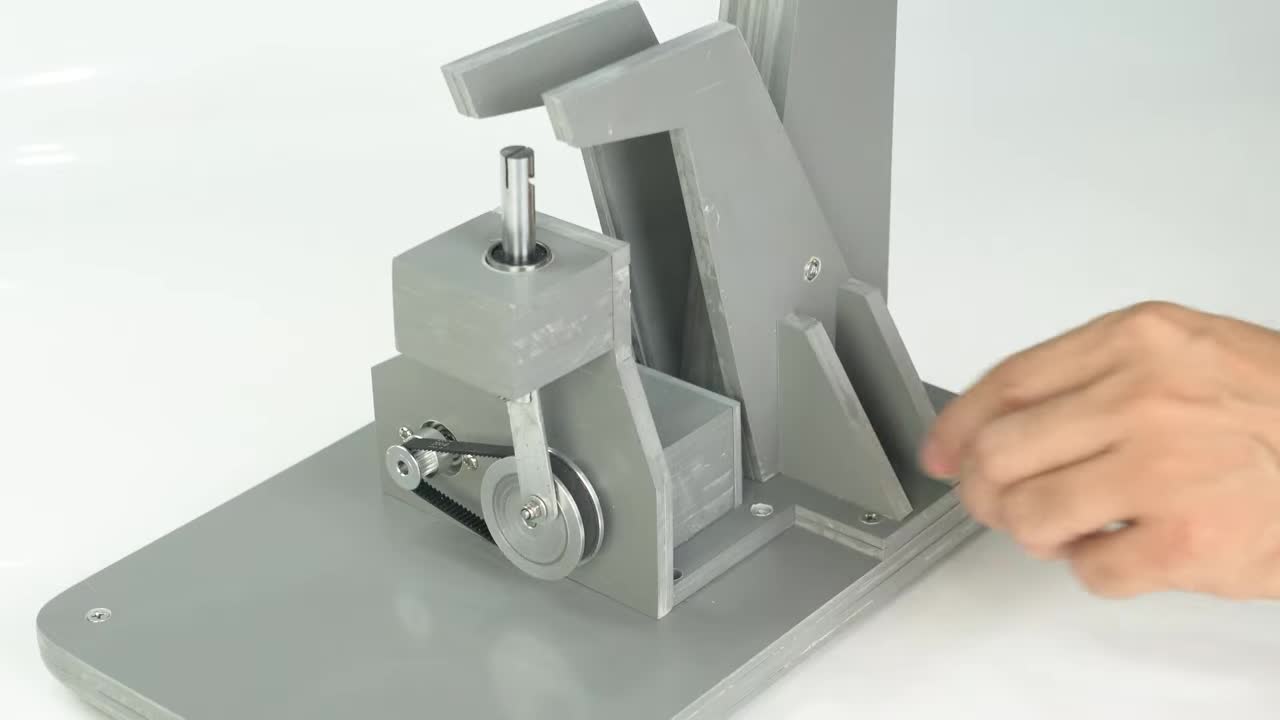
步骤 5:安装同步带轮和连杆 Step 5: Install Synchronous Pulleys and Connecting Rod
在 大同步带轮 (60齿) 上打孔安装螺丝。将 小同步带轮 (20齿) 固定在电机轴上。将连杆通过螺丝固定在大同步带轮上。 Drill a hole on the large synchronous belt pulley (60 teeth) for a screw. Fix the small synchronous belt pulley (20 teeth) onto the motor shaft. Fix the connecting rod to the large synchronous belt pulley with a screw.
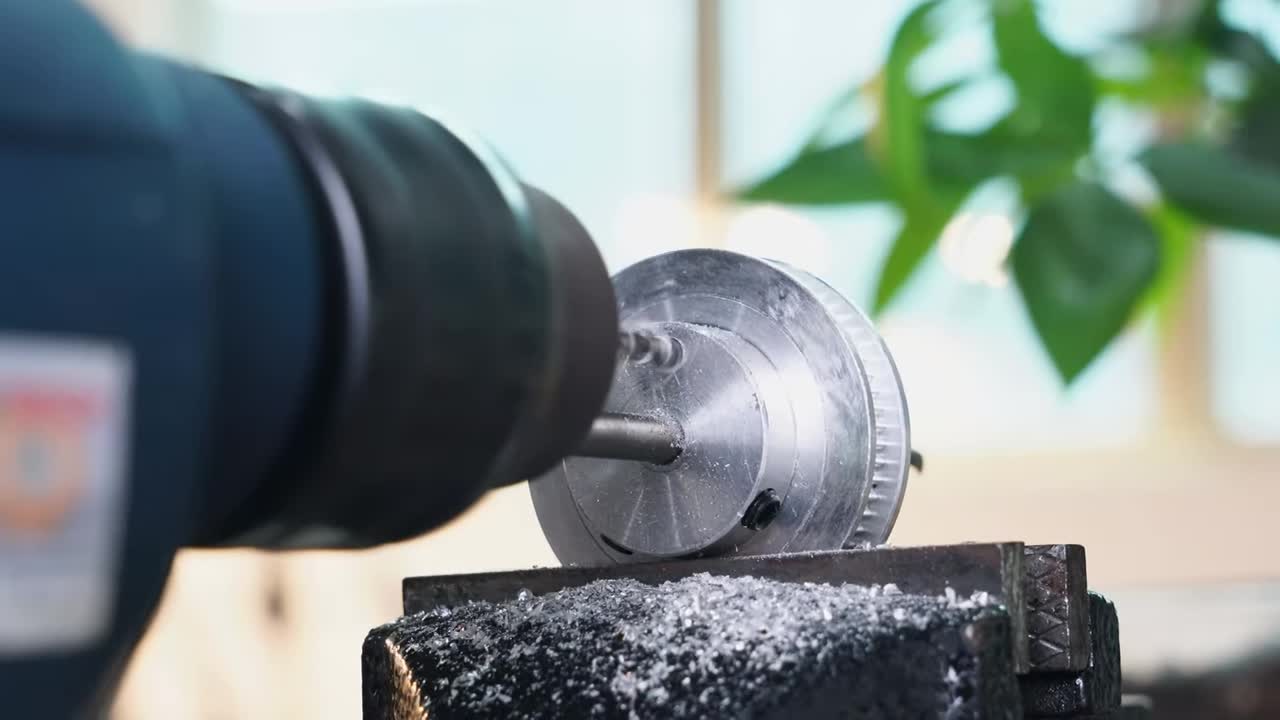
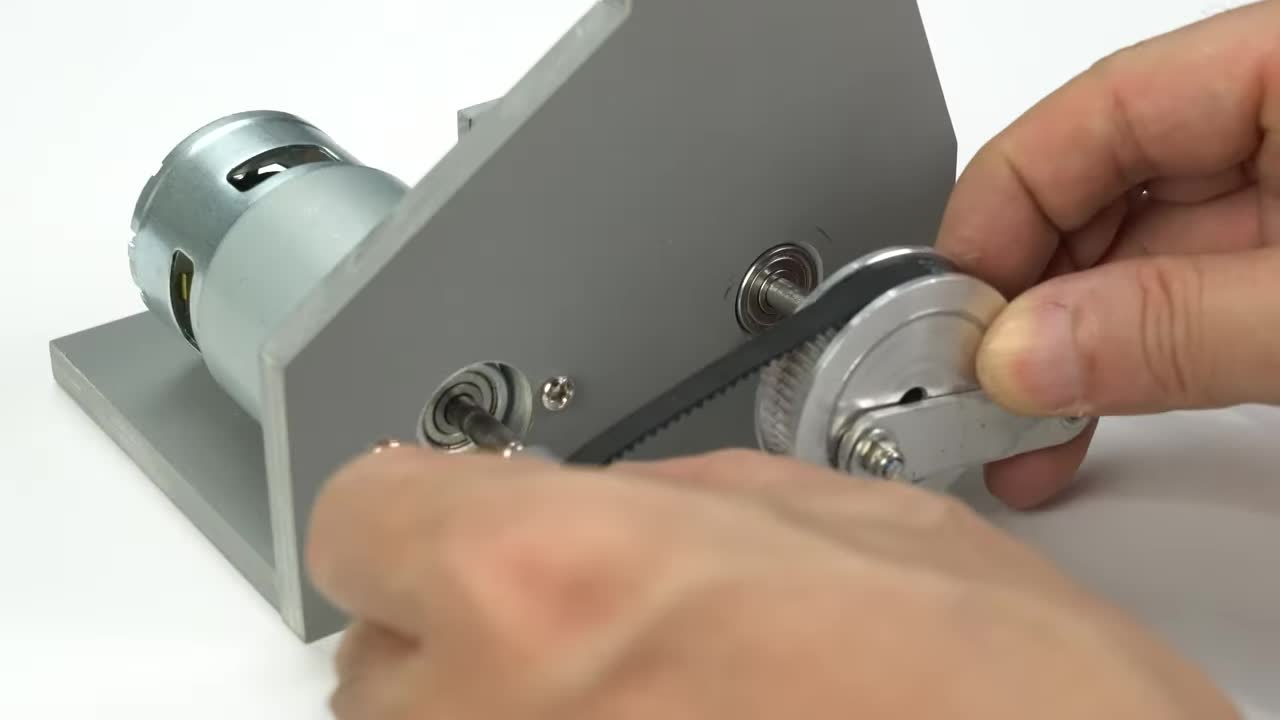
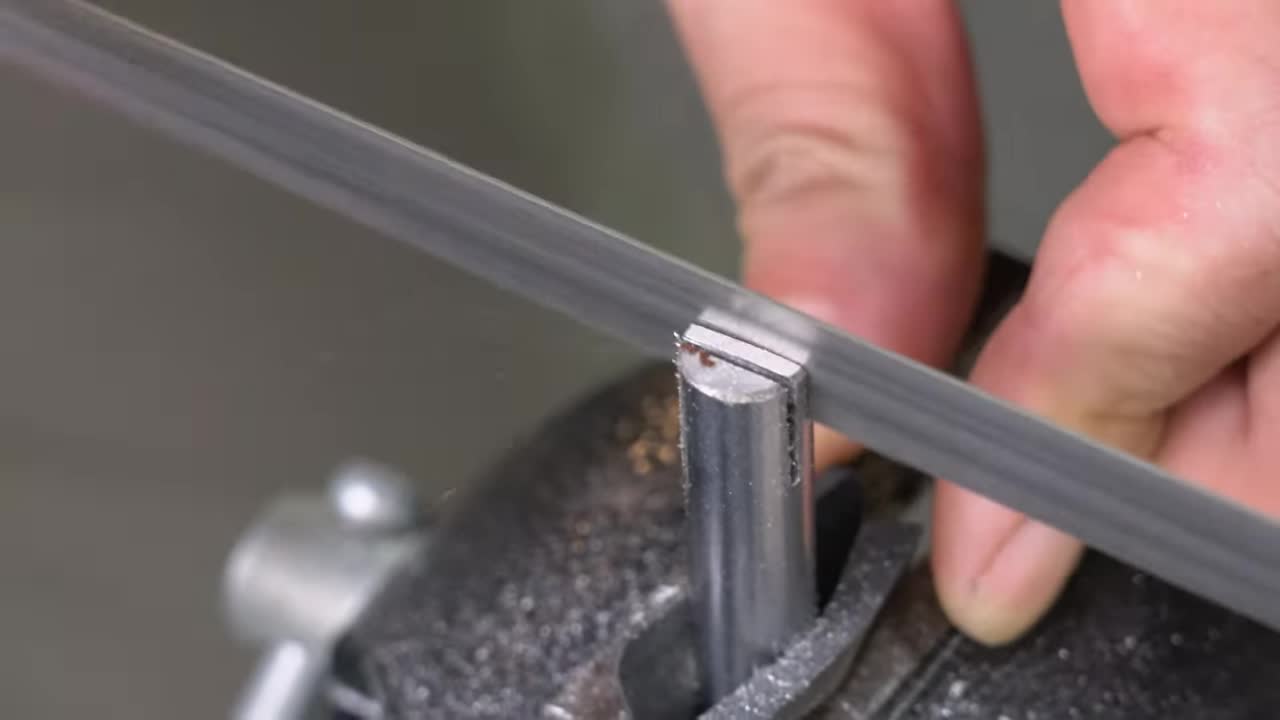
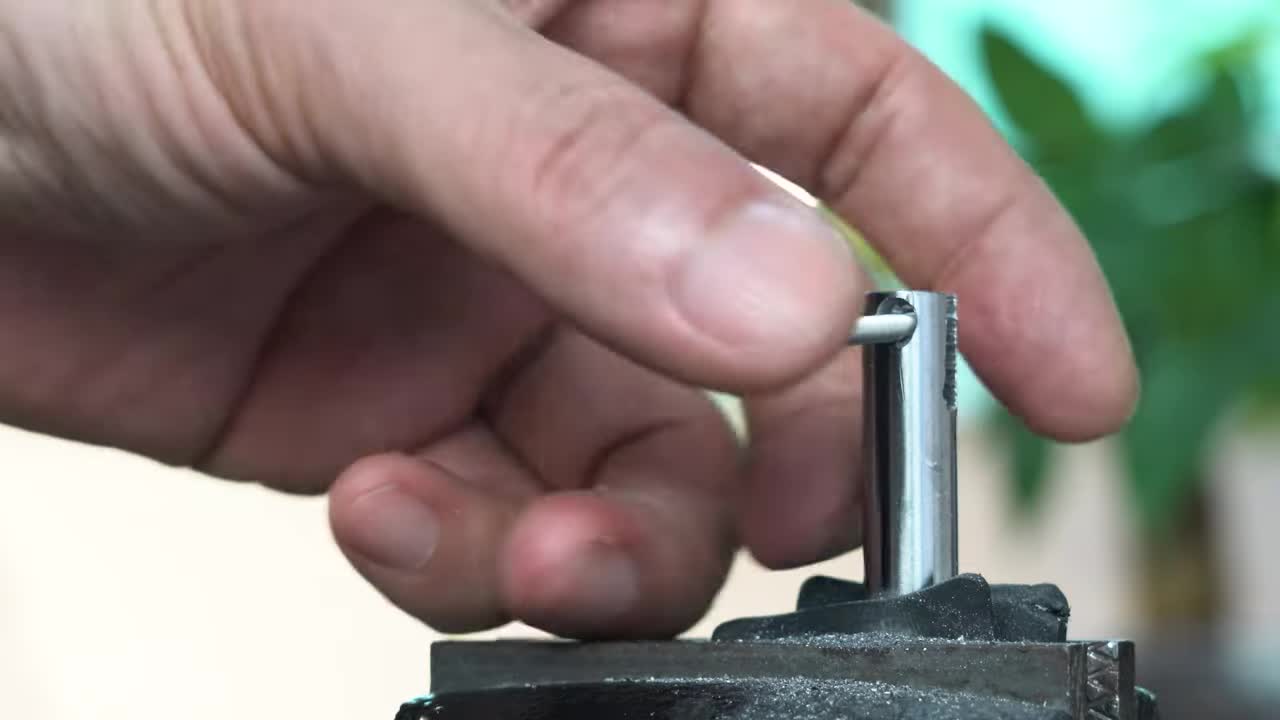
步骤 6:制作垂直轴支架管 Step 6: Fabricate Vertical Shaft Holder Tube
切割并打磨金属圆管。在管上开槽,并打孔安装插销。 Cut and sand metal tube. Make a slot on the tube and drill a hole for a pin.
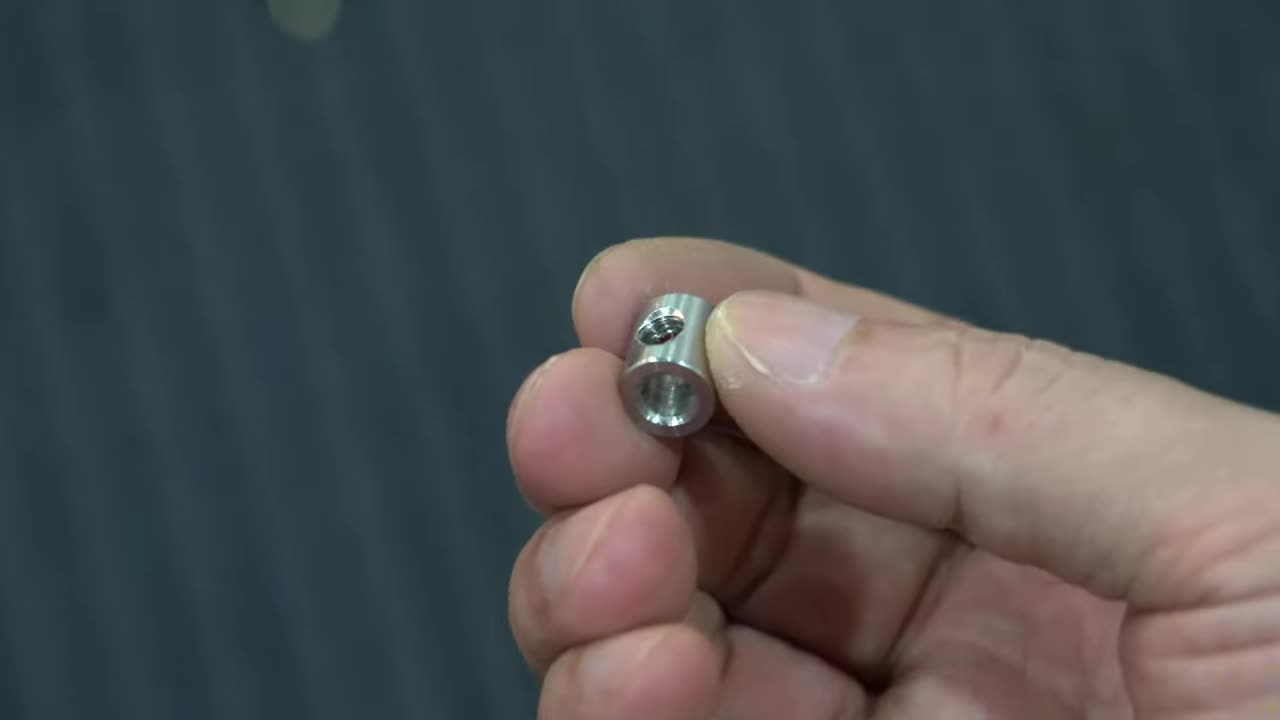
步骤 7:制作上锯片夹持件 Step 7: Fabricate Upper Saw Blade Clamp
制作金属夹持件,用于固定锯片上端。 Fabricate a metal clamp part to hold the upper end of the saw blade.
步骤 8:制作机身主体框架 Step 8: Fabricate Main Body Frame
切割并粘合多层塑料板,形成“C”形的机身框架。 Cut and bond multiple layers of plastic sheets to form the "C"-shaped frame.
步骤 9:固定驱动机构到底座和框架 Step 9: Fix Drive Mechanism to Base and Frame
将电机/驱动机构底座固定到机身框架底部。使用螺丝加固连接。 Fix the motor/drive mechanism base onto the main frame base. Secure connections with screws.
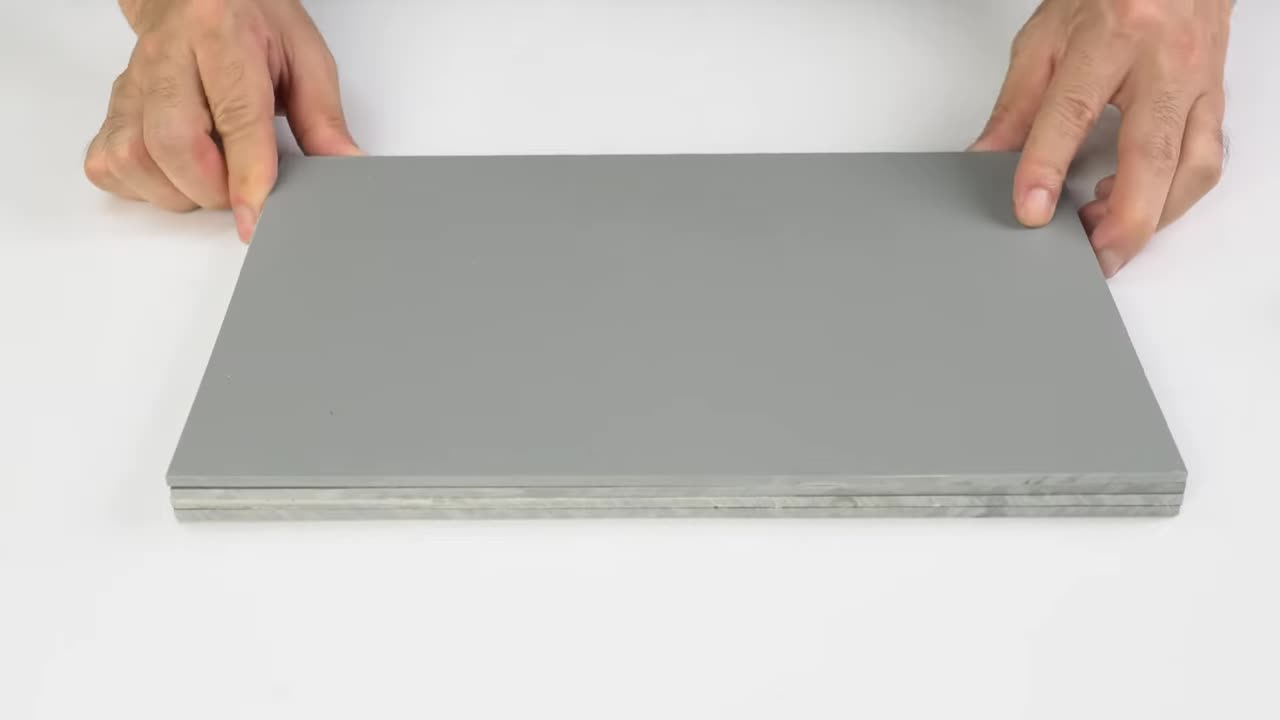
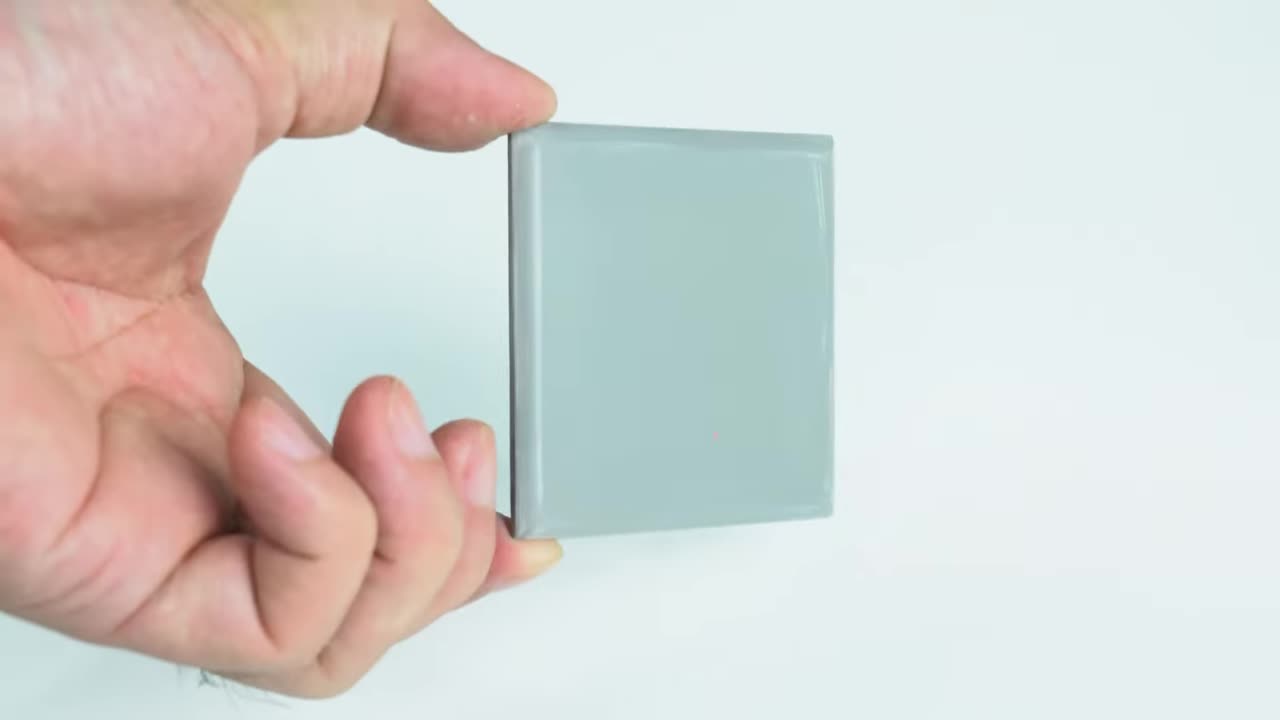
步骤 10:制作并安装工作台面 Step 10: Fabricate and Install Work Table
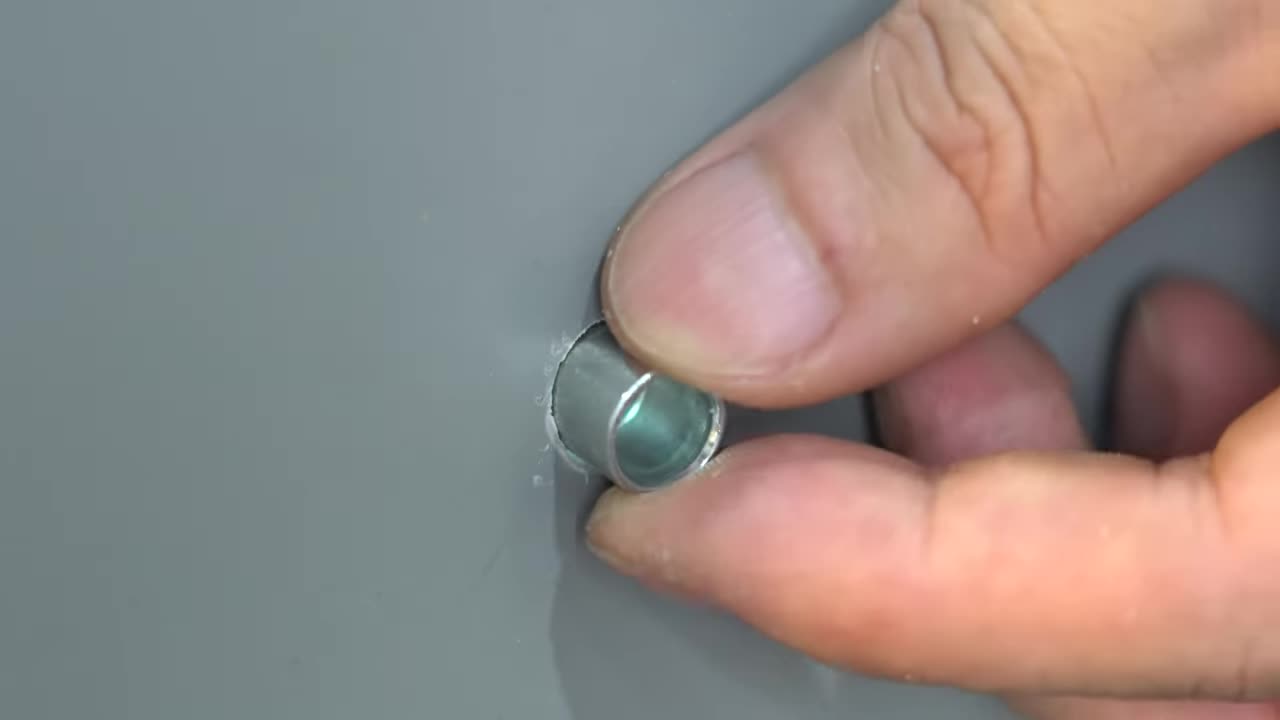
粘合多层板材制作工作台面,修剪并打磨边缘。在中心为锯片开孔,安装衬套。 Bond multiple layers for the work table, trim and sand edges. Drill a hole in the center for the saw blade and install a bushing/insert.
步骤 11:将工作台面固定到底座 Step 11: Fix Work Table to Base
在底座上打孔,安装衬套,然后用螺丝将工作台面固定到底座上。安装橡胶脚垫。 Drill holes on the base, install bushings, then fix the work table to the base with screws. Install rubber feet.

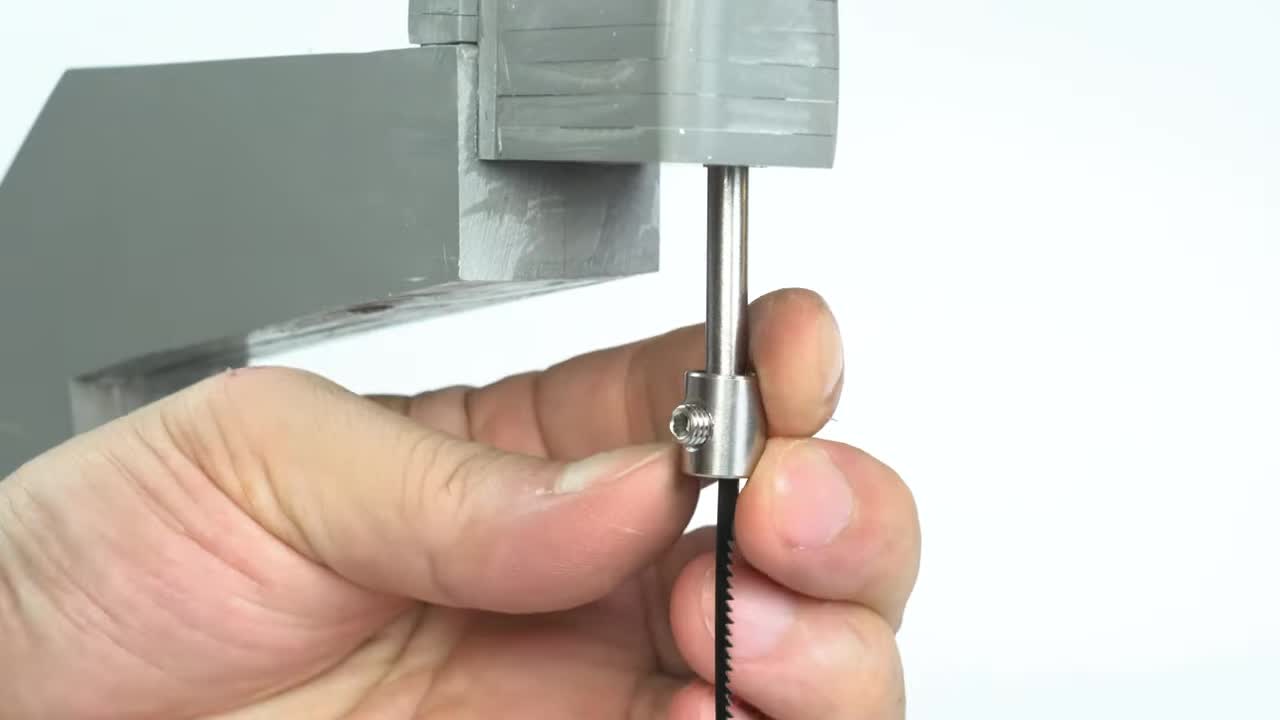
步骤 12:安装垂直轴和锯片机构 Step 12: Install Vertical Shaft and Saw Blade Mechanism
将垂直轴穿过上下轴承座,连接连杆。安装上锯片夹持件和弹簧,调整锯片张紧度。 Insert the vertical shaft through the upper and lower bearing blocks, connect the connecting rod. Install the upper saw blade clamp and spring, adjust the blade tension.
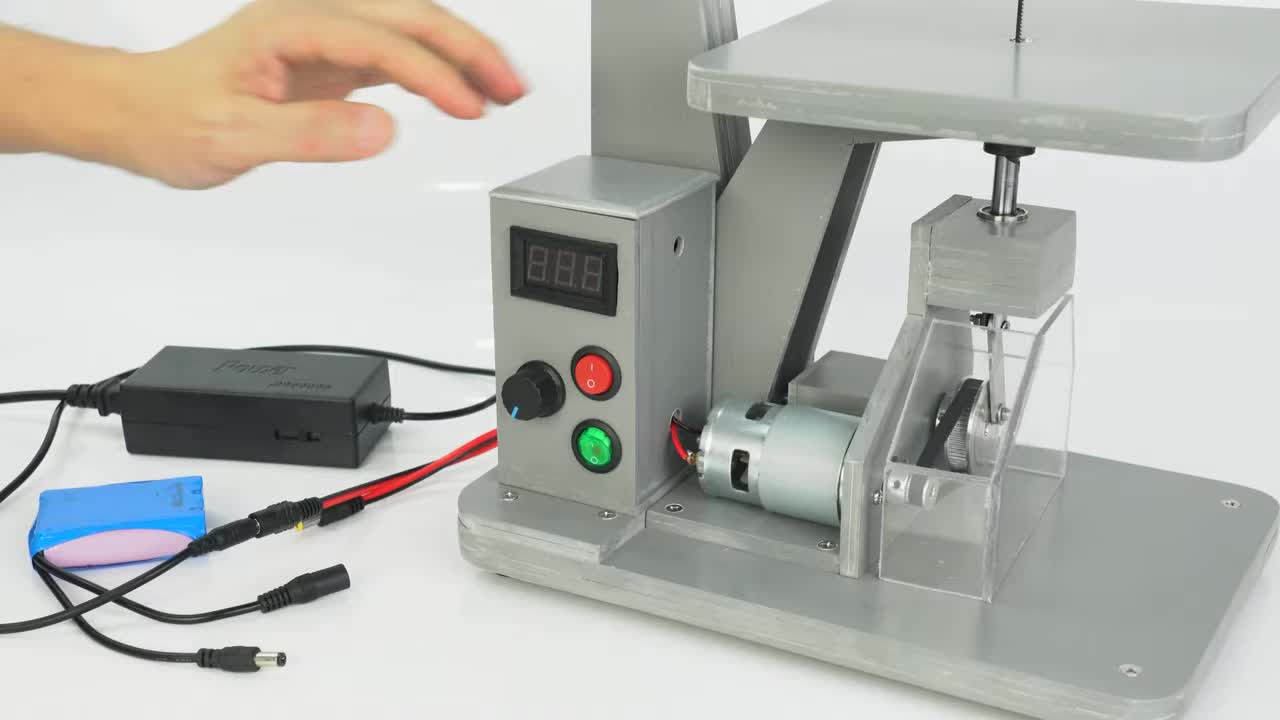
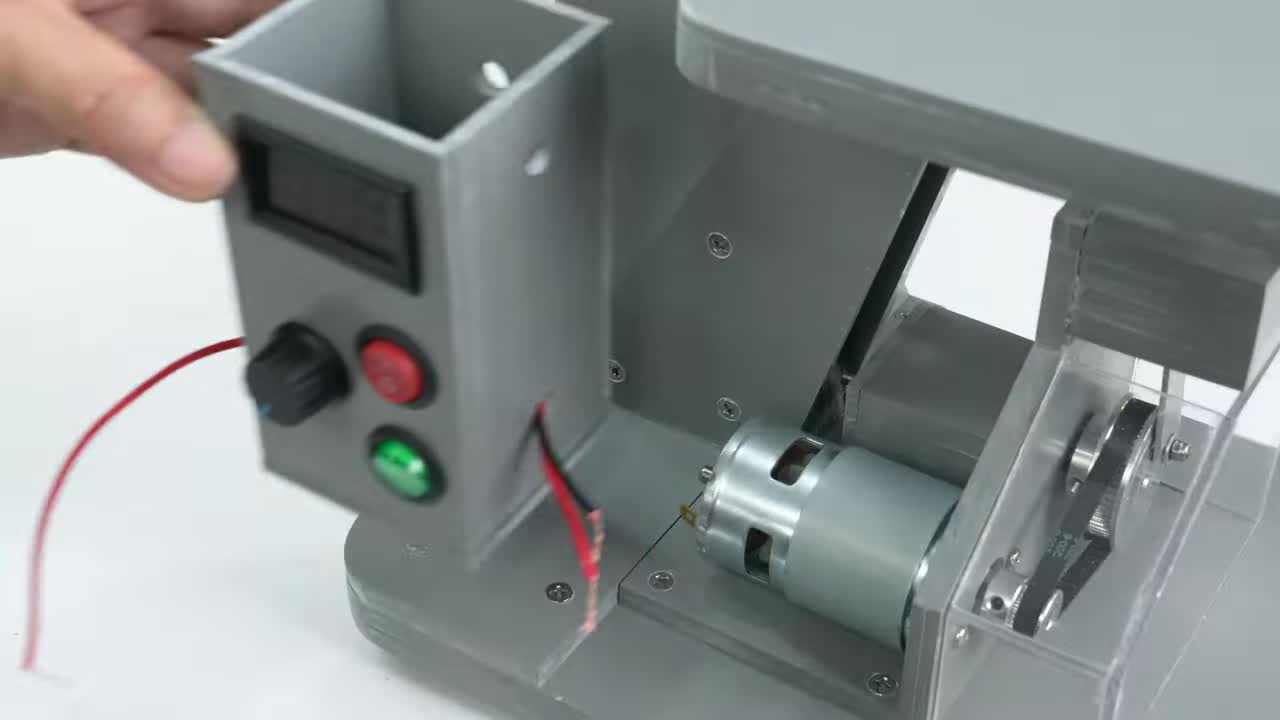
步骤 13:制作并安装控制箱 Step 13: Fabricate and Install Control Box
制作控制箱外壳,安装并连接 PWM调速模块 (电流 10A, 电压 12-40V)、电压显示屏、开关和接线端子。 Fabricate the control box enclosure, install and wire the PWM Speed Regulation Switch (Current: 10A, Voltage: 12-40V), voltage display, switches, and terminals.
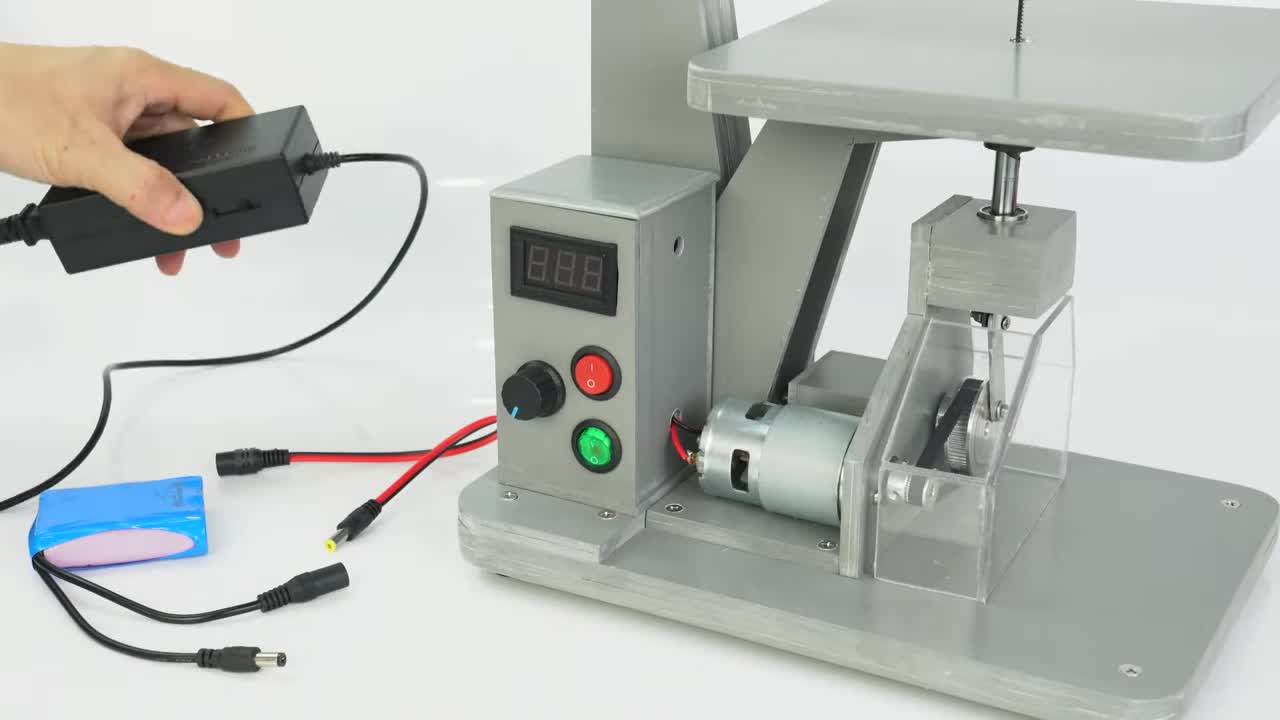
步骤 14:最终组装并连接电源 Step 14: Final Assembly and Power Connection
将控制箱固定到机身上,连接电机接线和电源接头。可使用电池包或 18V 5A 直流电源适配器 供电。 Fix the control box to the machine body, connect motor wires and power connectors. Can be powered by a battery pack or 18V 5A DC power adapter.
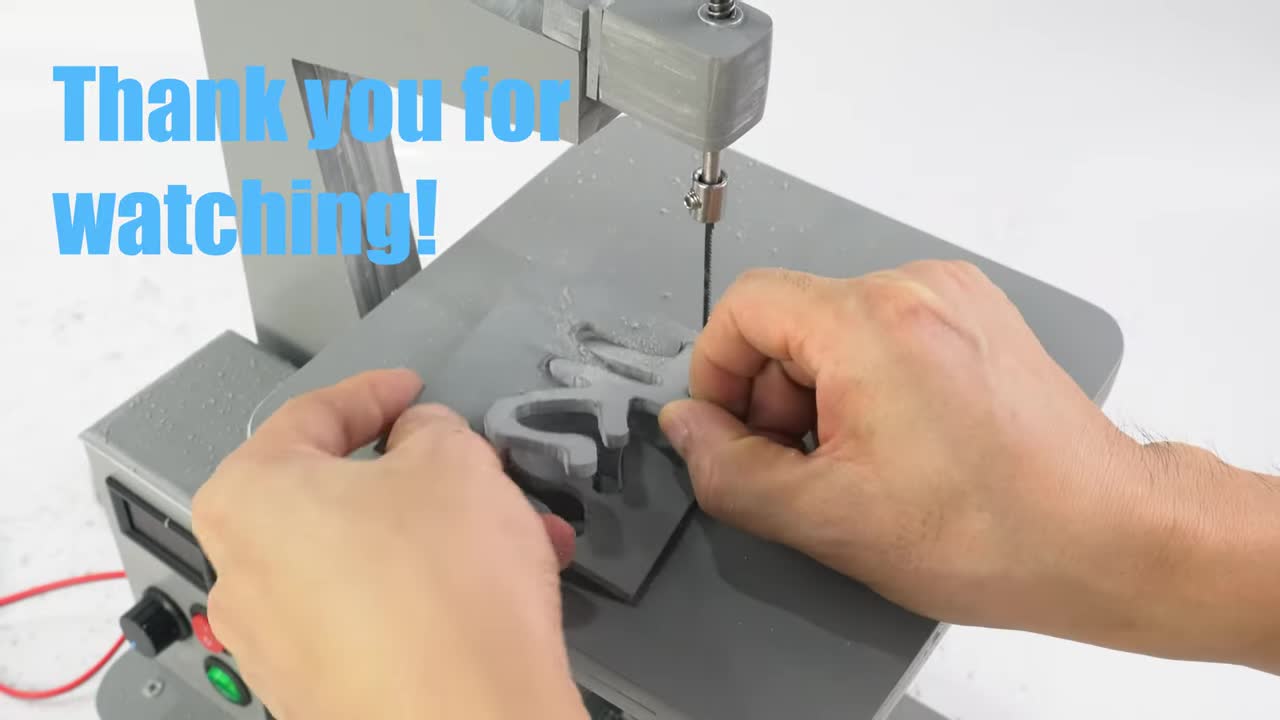
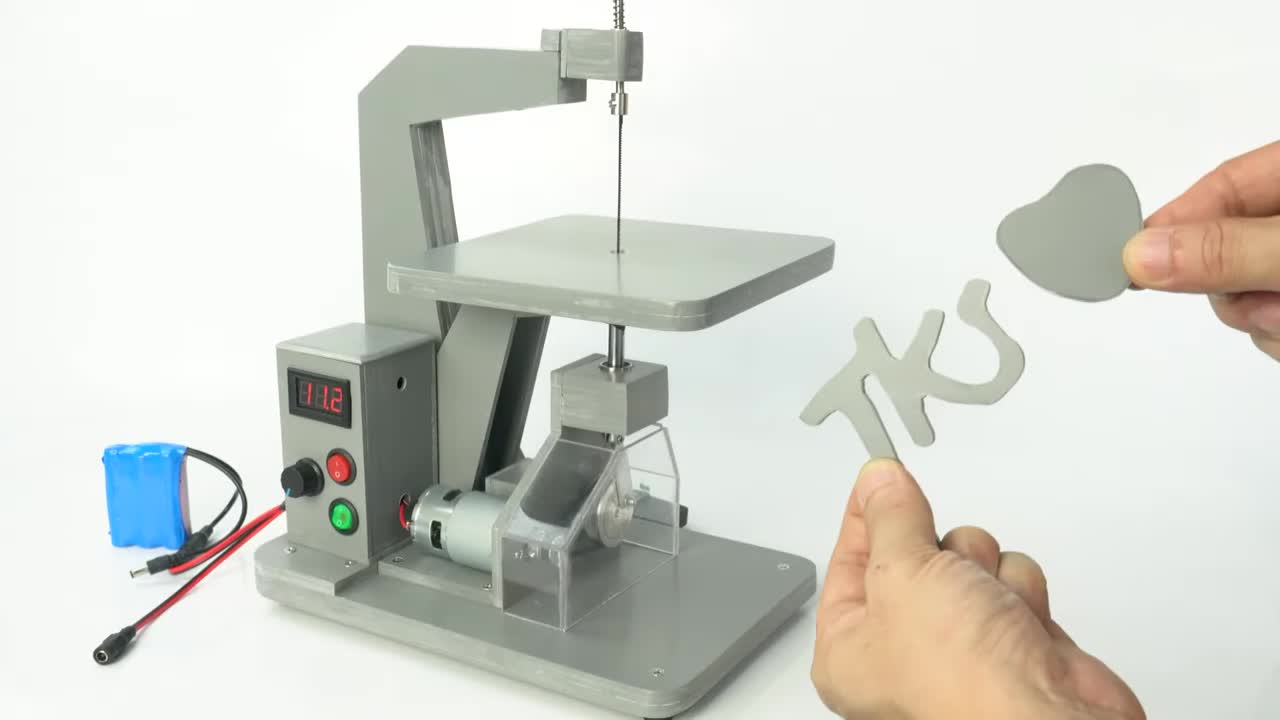
步骤 15:切割演示 Step 15: Cutting Demonstration
打开电源,调节速度,即可进行精确的切割操作。 Turn on power, adjust speed, and perform precise cutting operations.